How to Resurface Your Deck in Six Easy Steps
A deck is not just an ordinary addition to your outdoor space. It is an exceptional one. Its inviting ambiance provides the perfect setting for entertaining guests, enjoying the breathtaking beauty of nature, and creating countless lasting memories with your loved ones.
However, your beloved deck may show signs of weathering and wear as time passes. It may lose its luster, becoming unsafe and losing its visual appeal. But worry not because there is a remarkable solution to restore its former glory - deck resurfacing.
By resurfacing your deck, you can return its captivating charm and make it a stunning focal point of your outdoor oasis. This comprehensive article will guide you through six easy-to-follow steps to ensure that every intricate detail is covered during the resurfacing process. Our guidance will transform your outdoor space into an enchanting masterpiece that will leave everyone in awe.
So, let's dive right in and embark on this journey of deck resurfacing, where every step will be meticulously explained, allowing your deck to regain its splendor and become the envy of the neighborhood. Get ready to elevate your outdoor living experience to new heights!

Step 1: Inspect Your Deck
Before you commence the resurfacing process, it is crucial to assess your deck's condition thoroughly. Take the time to carefully inspect every aspect, from the surface boards to the underlying joists and beams. Look for any signs of damage, such as rot or deterioration that may require repair or replacement. Pay close attention to the structural integrity of the joists and beams, ensuring they are stable and capable of supporting the deck's weight.
If you notice any issues during the inspection, addressing them before proceeding with the resurfacing process is highly recommended. Taking the time to
repair any damaged deck boards or reinforce weak areas will help ensure a solid foundation for your deck and guarantee a successful outcome for the resurfacing project.
Rest assured that if you encounter any boards needing repair or replacement, you can take care of them as necessary. By paying attention to these details and taking proactive measures, you can revitalize your deck and enjoy its beauty and functionality for years.
Step 2: Cleaning and Prepping the Deck
To ensure optimal bonding between the new coat of paint or stain and the wood, starting with a clean deck surface is crucial. Begin by sweeping off any debris, dirt, or leaves that may have accumulated over time. Consider using a suitable cleaner specifically designed for deck surfaces for a thorough cleaning. A power washer can be highly effective in removing stubborn dirt, stains, and even pesky mildew. However, it is important to exercise caution when operating the power washer to avoid potential damage to the deck. Adjust the pressure to a safe level that won't harm the wood. Once the cleaning process is complete, allowing your deck ample time to dry thoroughly before proceeding to the next step is recommended. By following these steps diligently, you can achieve a beautifully restored and well-maintained deck that will enhance the overall aesthetics of your outdoor space.
Step 3: Sanding the Deck
To ensure optimal results and achieve a professional finish, following up on power washing your deck with thorough sanding is crucial. Sanding is vital in eliminating any rough areas on the wood, creating a flawlessly smooth surface that allows the sealant or paint to adhere seamlessly.
For this task, you can use either a belt sander or an orbital sander equipped with medium-grit sandpaper, depending on your preference and the deck's condition. The belt sander, known for its power and efficiency, can quickly remove imperfections and level the surface, while the orbital sander provides a more precise and controlled sanding experience. Whichever tool you choose, ensure the sandpaper has medium grit to balance smoothing the wood and preserving its integrity.
Dedicating time and effort to sanding down your deck properly is well worth it. The process enhances the visual appeal and contributes to the deck's durability and longevity. The sealant or paint can bond effectively by creating a smooth surface, providing lasting protection against the elements and foot traffic.
So, take your time during the sanding process, paying attention to every nook and cranny. Be thorough in your approach, ensuring that all rough spots are smoothed out, and the entire deck surface is uniform. This meticulousness will reward you with a beautifully finished deck that looks great and stands the test of time, ensuring long-lasting durability and enjoyment for years to come.
Step 4: Applying a Sealant or Stain
Follow these steps to revitalize your deck and give it a fresh new look that will last for years. First, carefully inspect the deck's surface and remove any loose or damaged wood. Next, clean the deck using a cleaner or a mixture of warm water and mild soap. Scrub the surface with a stiff brush to remove dirt, grime, and any remnants of old coatings. Rinse thoroughly with clean water and allow the deck to dry completely.
Once the deck is dry, prepare the surface with a high-quality primer. Choose a primer designed for outdoor use and compatible with the coating you plan to apply. Use a paint roller or brush to apply an even primer layer over the deck surface. Pay extra attention to the edges, corners, and areas prone to moisture or wear.
After the primer is dry, it's time to apply the coating. Consider using a high-quality
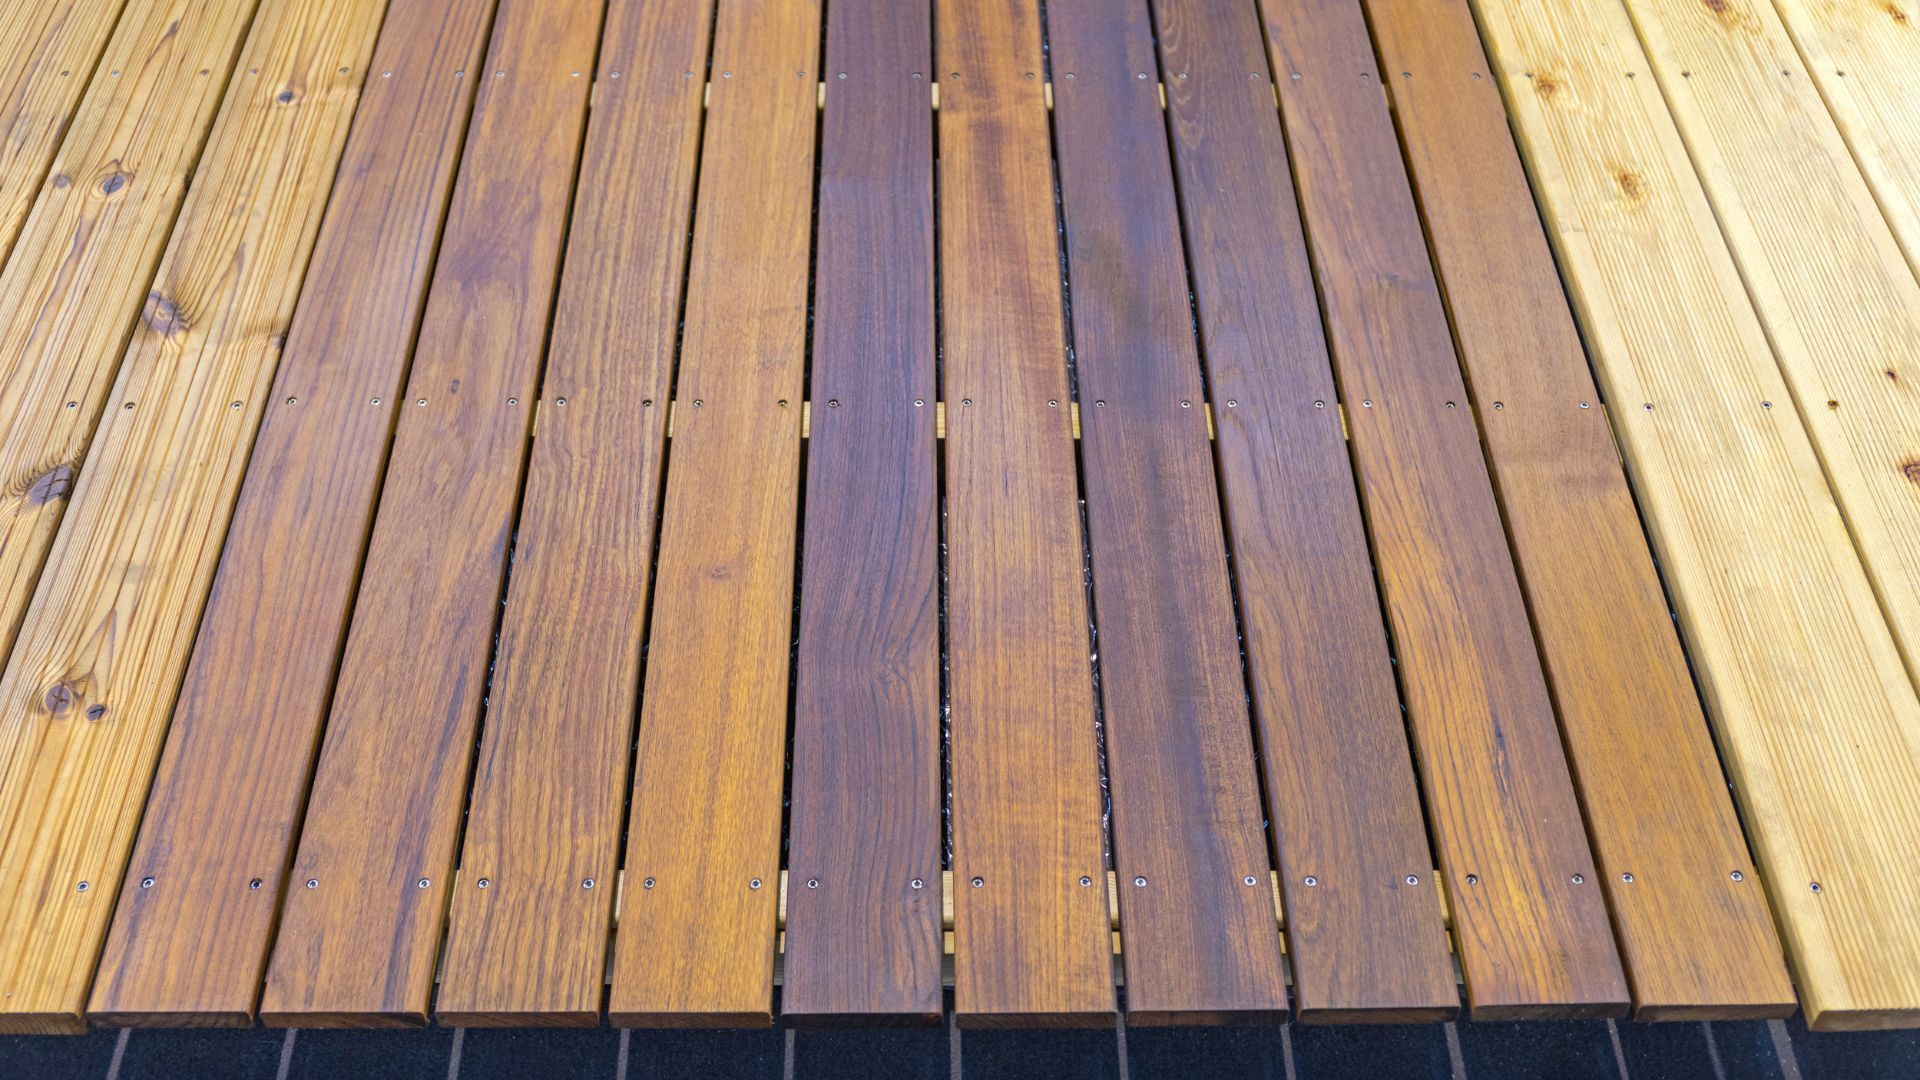
paint or stain that is specifically formulated for use on decks. Solid-color stains are a popular choice as they provide excellent durability and coverage. Alternatively, if you prefer the natural look of the wood, opt for a clear sealant that will protect the deck without altering its appearance.
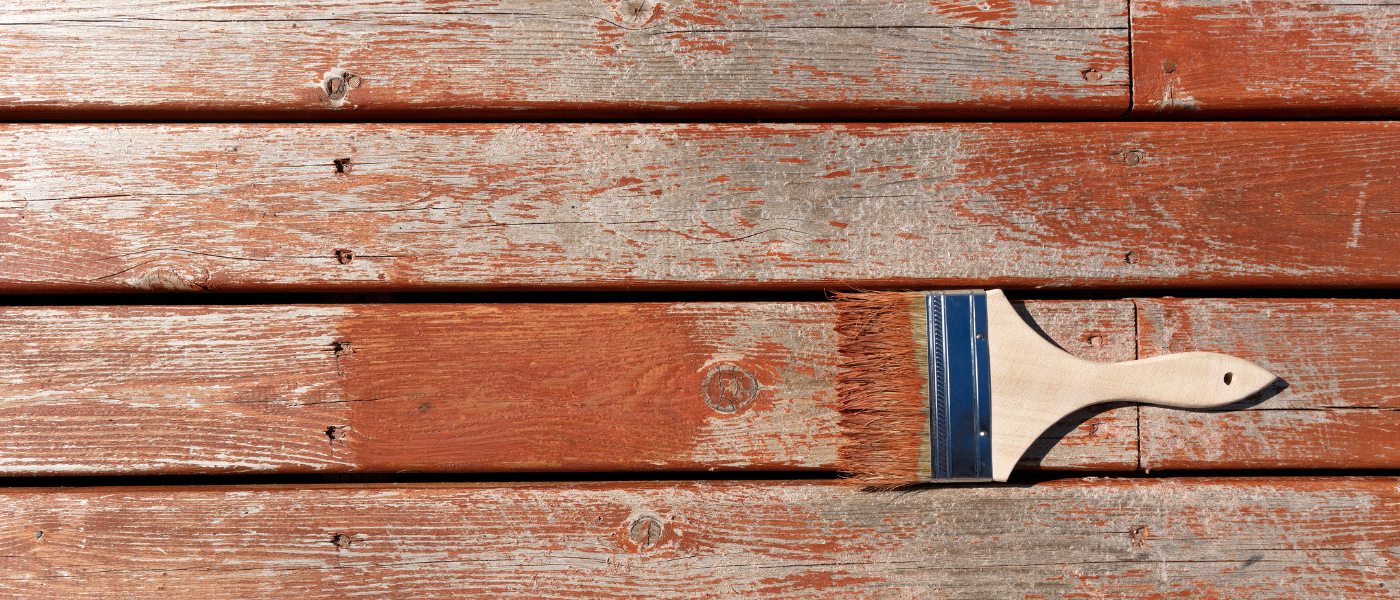
When applying the coating, take your time and work in small sections to ensure even coverage. Use a paintbrush, roller, or spray gun, depending on your preference and the deck size. If using a brush, apply the coating in long, even strokes following the wood grain. Be sure to blend brush marks to achieve a smooth and flawless finish.
After the coating is applied, allow it to dry completely. The drying time will vary depending on the type of coating and the environmental conditions. Generally, the coating takes one to two days to dry and cure fully. Avoid walking on the deck or placing furniture or objects on it until the coating is completely dry.
By following these thorough steps, you will safeguard your deck and give it a refreshed and rejuvenated look that you can enjoy for many years to come. Remember, proper maintenance and regular cleaning will help extend the life of your deck and keep it looking its best.
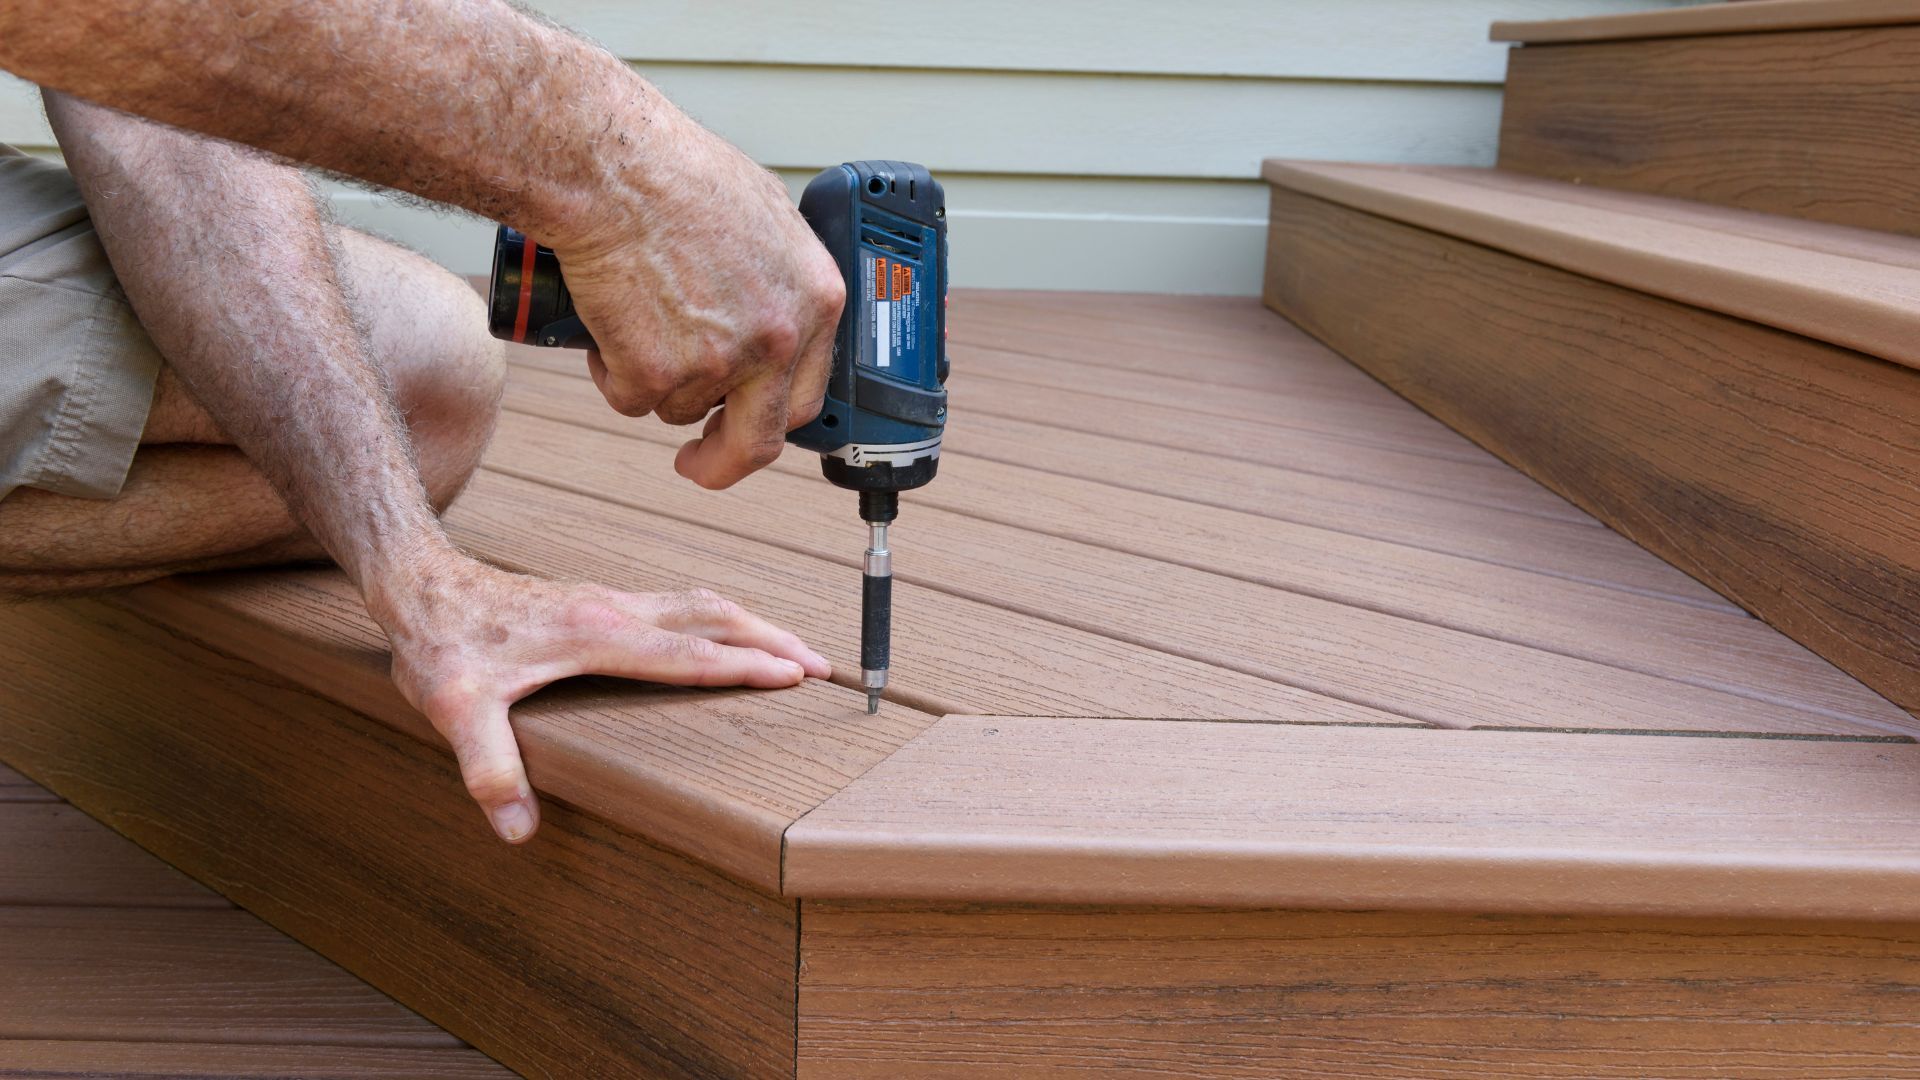
Step 5: Replace or Install the Handrails
To ensure your deck's long-term safety and visual appeal, it is crucial to conduct regular and thorough inspections. Take the time to meticulously examine every inch, paying special attention to the handrails. If you come across any signs of wear or damage, take immediate action by promptly repairing them or considering a replacement. By taking this proactive approach, you will enhance the overall appearance of your deck and provide the utmost safety for all its users. This will grant you peace of mind and create a warm and inviting outdoor space that everyone can enjoy for relaxation and leisure activities. So, don't overlook the importance of maintaining your deck; make it a top priority to keep it in its best condition possible.
Step 6: Decorate Your Deck
Enhance the charm of your newly resurfaced deck by incorporating some delightful
deck decorations. Consider experimenting with various elements to create a truly enchanting outdoor space. Add vibrant outdoor rugs that bring a pop of color and texture. Install tasteful decorative lighting to create a warm and inviting ambiance during evening gatherings. Surround yourself with lush plants, carefully selected to add a touch of nature's beauty. And don't forget to choose outdoor furniture that seamlessly complements the style and aesthetics of your home, providing both comfort and elegance. By adding these thoughtfully curated elements, you can create an inviting and cozy outdoor space perfect for relaxing, hosting memorable gatherings, and enjoying the beauty of the great outdoors.
Conclusion
Your deck is more than just an outdoor space; it's an extension of your home, a place to unwind and create lasting memories. That's why it's crucial to give it the care it deserves. By following the easy steps outlined in this comprehensive article, you'll be able to maintain your deck's beauty and functionality for years to come.
Don't let the idea of giving your deck a new surface overwhelm you. With the six simple and straightforward steps provided, you'll find that the process is not only manageable but also rewarding. Imagine your deck looking as good as new, ready to host gatherings and provide a peaceful retreat, achieved in no time.
Resurfacing your deck goes beyond aesthetics; it's an investment in its longevity and protection against the elements. By taking this proactive step, you'll ensure its durability and enhance the value of your home. It's a win-win situation that allows you to enjoy the benefits of a refreshed outdoor living space while adding value to your property.
So why wait? It's time to roll up your sleeves and resurface your deck. With this comprehensive guide at your disposal, you'll have all the knowledge and confidence needed to bring your outdoor oasis back to life. Get ready to create new memories, bask in the beauty of your deck, and reclaim your outdoor living space!
You might also like
Blog
Athens Deck Pro
"The Best Deck Builders in Georgia"


